Local Setup
The local setup involves installing several things:
- Python
- The code you’ll use in the workshop
- VSCode
- VSCode Python & Jupyter extensions and disabling AI features (required for workshop)
- Python Packages
You may be able to skip installing git if you already have it installed from the git workshop
The full setup instructions are:
Python
-
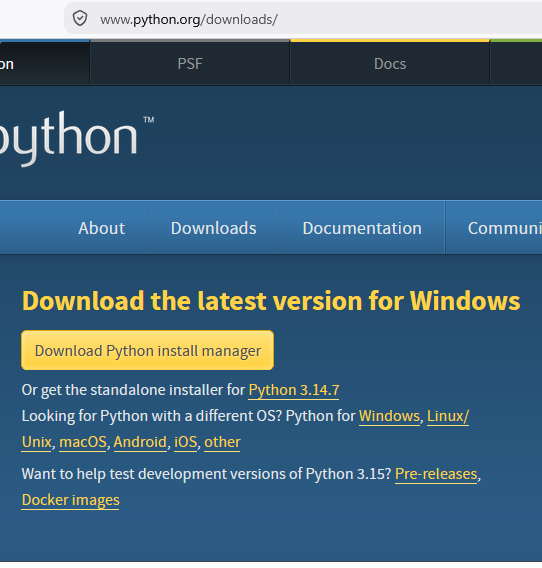
Navigate to the website https://www.python.org/ with your web browser.
-
Download Python 3.14 (3.14.7 is fine) for your operating system
-
Run the installer, following all prompts using the default settings
Repository
-
Go to
https://github.com/CurtinIDS/CIDS_Carpentries_Python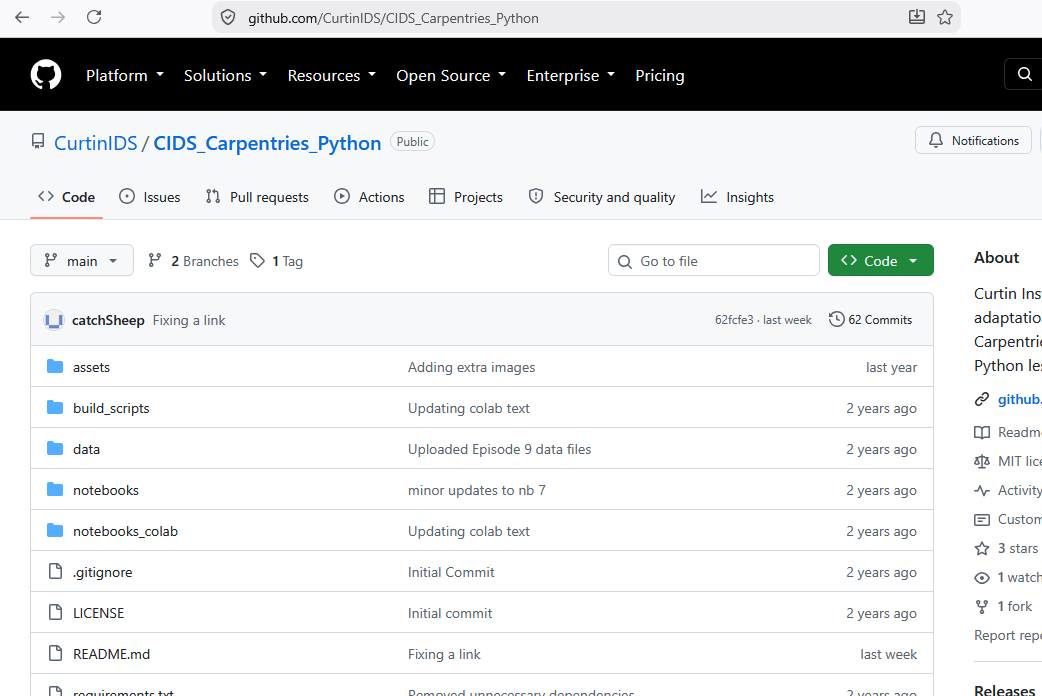
- Click the green “<> Code” button
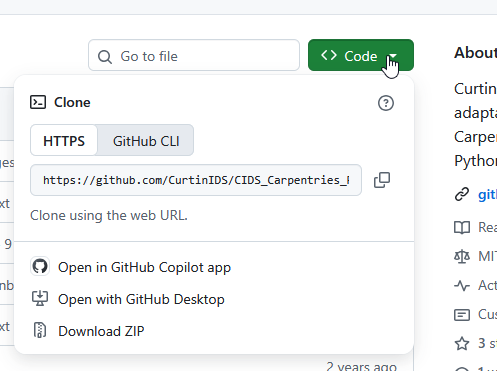
- Click “Download ZIP” at the bottom of the dropdown
-
Save it to your local computer in a place that makes sense (e.g. “Documents/Carpentries”). NB: Many people run into issues if saving the file to a onedrive folder. Please try to save it to your local storage.
- Open the folder you saved the .zip to in a file browser, right click, extract the zip
VSCode
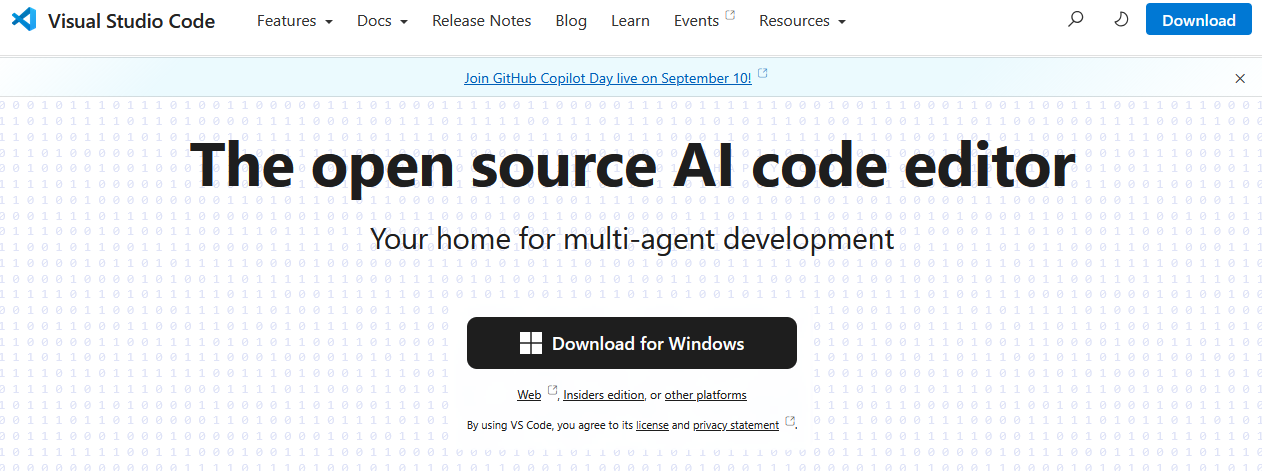
- Navigate to the website https://code.visualstudio.com/ with your web browser.
- Download Visual Studio Code for your specific platform/Operating System.
vscode_welcome.png
-
Run the Visual Studio Code Installer and follow all prompts.
-
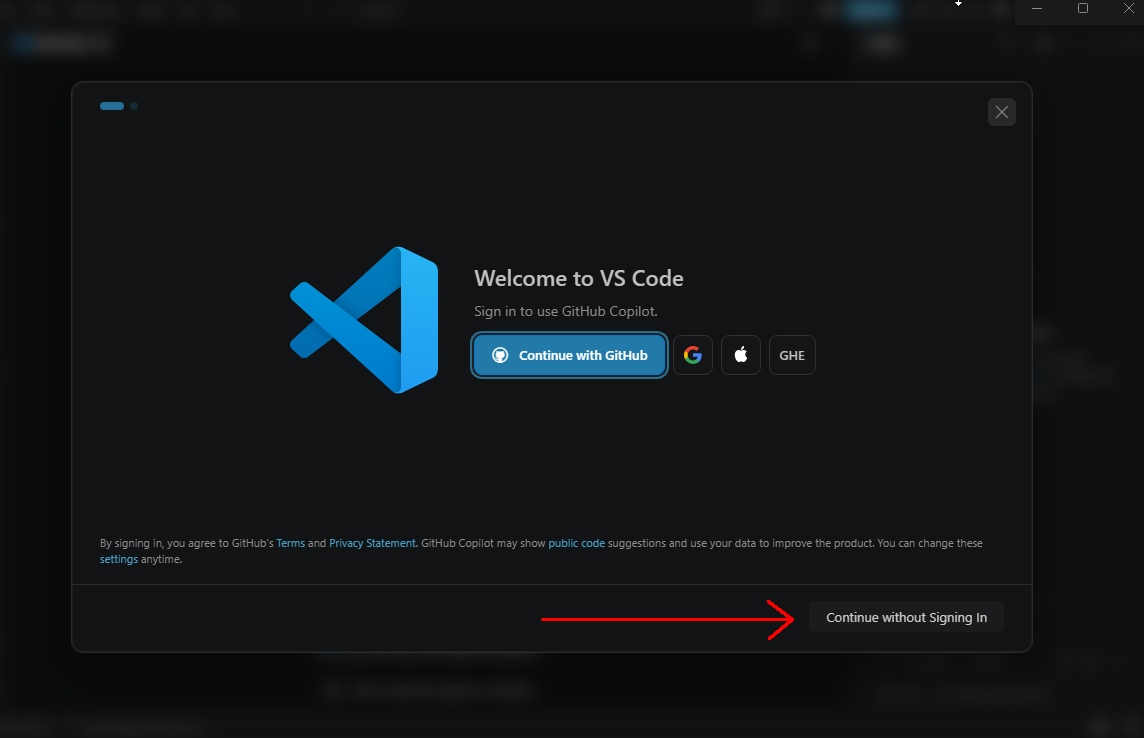
Open Visual Studio Code, and click “Continue without Signing in”
-
Hold “Ctrl” and “Shift”, and while holding press P to open the command pallette (
Command + Shift + Pfor MacOS). If you accidentally delete the carrot, re-open the command pallette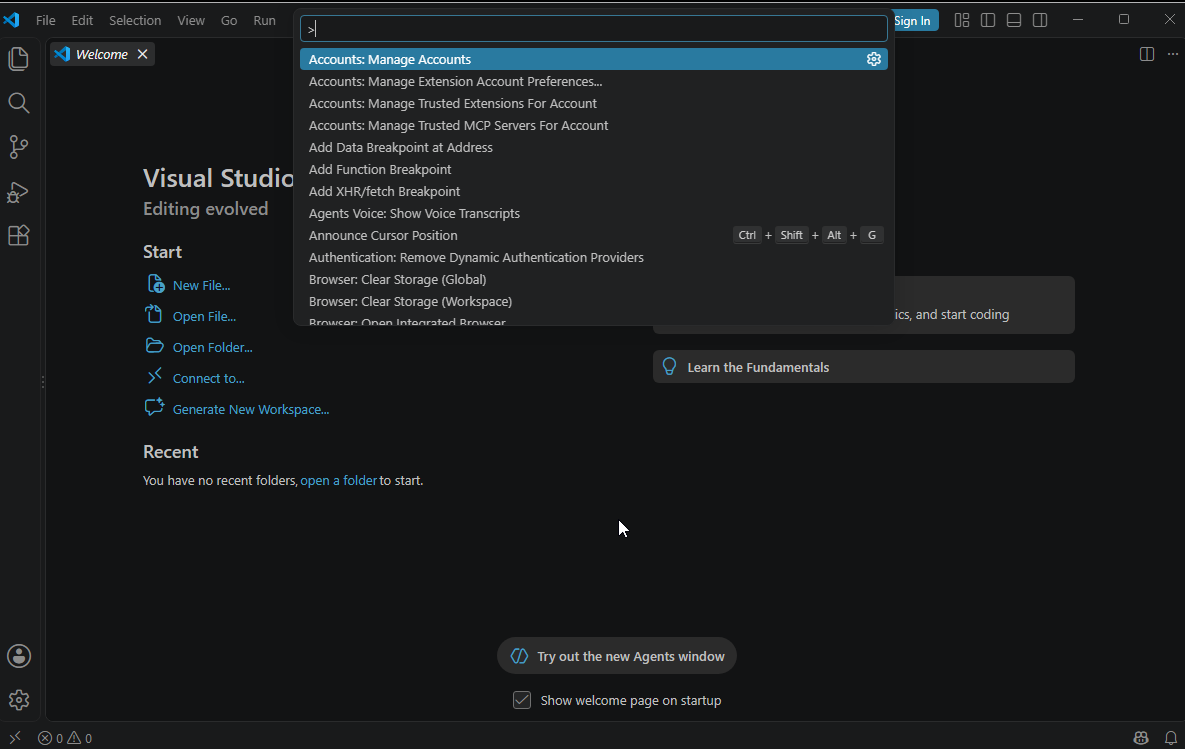
-
After the carrot (the “>” character ) type in “hide ai”. Click on “Chat: Learn How to Hide AI Features”

- Check the box to disable AI features. While some people may find these features useful, please disable them for this workshop to maximise your learning.
 Now we need to finish setting up VSCode by installing useful packages.
 - Navigate to the Extension sidebar (1. in image) then search for
Python(2.) and click on it. Click the green “Install” button (3.) to install it. The extension will be authored by “Microsoft” at “microsoft.com”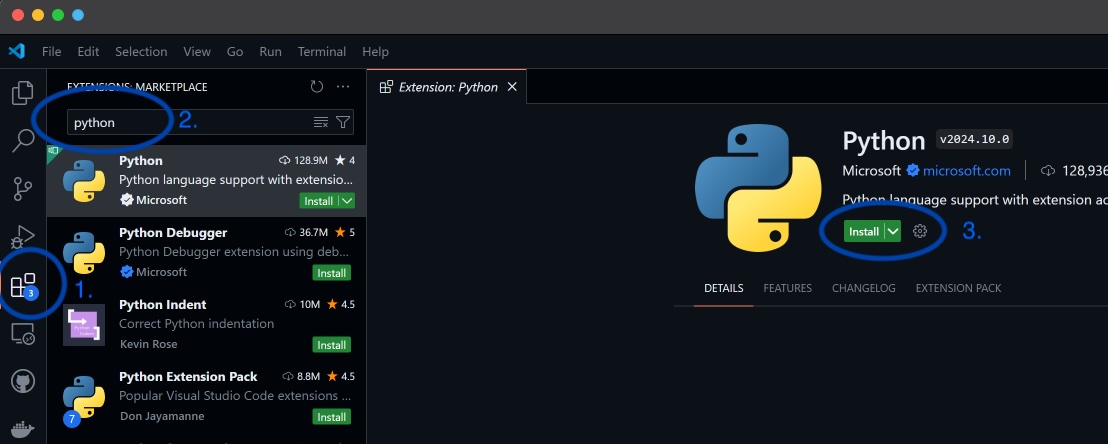
-
Search for and install the following additional packages like the above step:
a.JupyterThe extension will be authored by “Microsoft” at “microsoft.com”
b.PylanceThe extension will be authored by “Microsoft” at “microsoft.com”
c.Error LensThe extension will be authored by “Alexander” with ~10million downloads.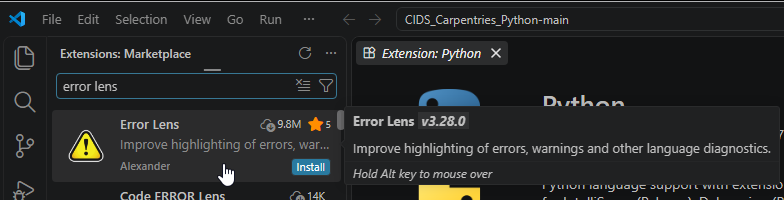
-
Finally we need to open the folder in VSCode and install project specific packages. This will be similar to how you might open other repositories (e.g. of research groups you’re working, etc.) to work on them after this course.
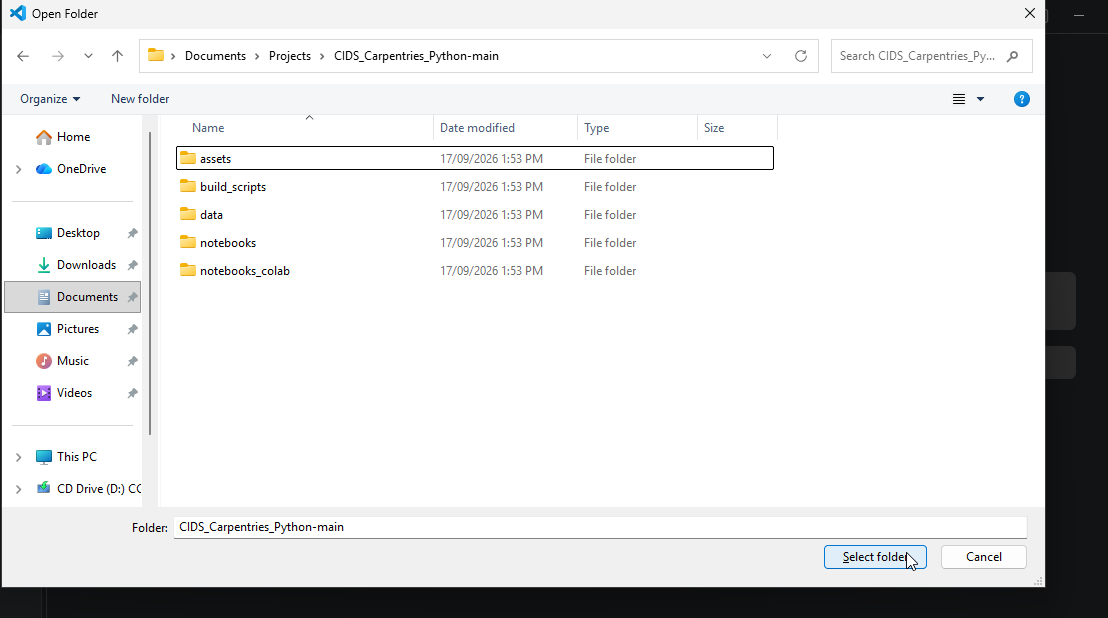
Click “File” in the menu bar in the top left of VSCode, then click “Open Folder” in the dropdown -
Navigate to the folder where you extracted the github repository, and hit “select” to open that folder in VSCode (
C:\Users\User\Documents\Projects\CIDS_Carpentries_Python-mainin the image above) -
You will see a prompt bar like the image below. Click “Manage” then click “Trust”
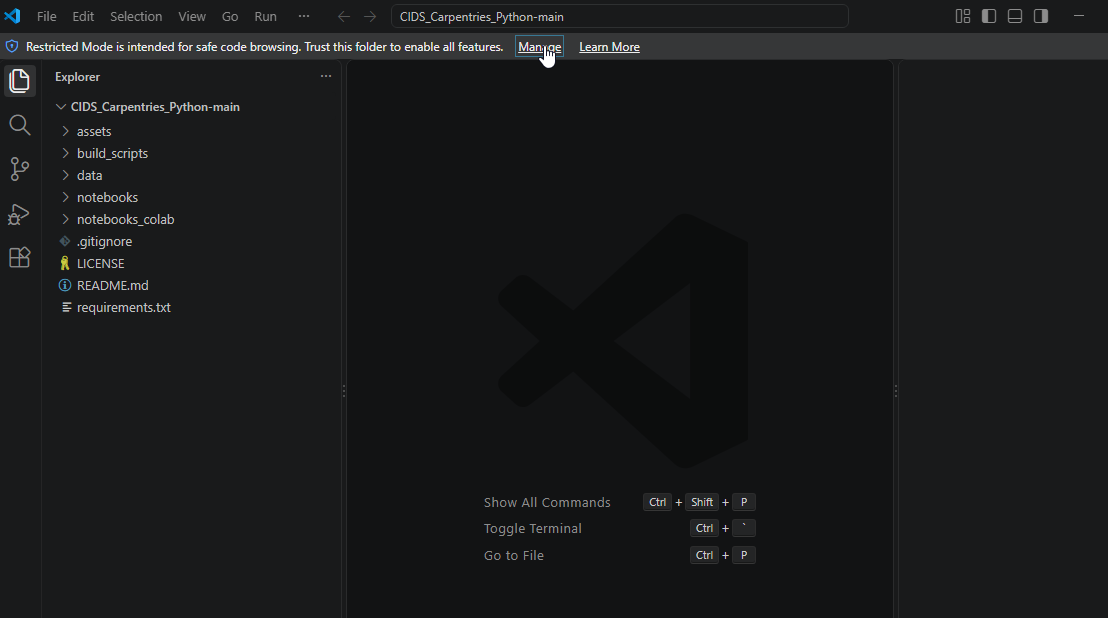
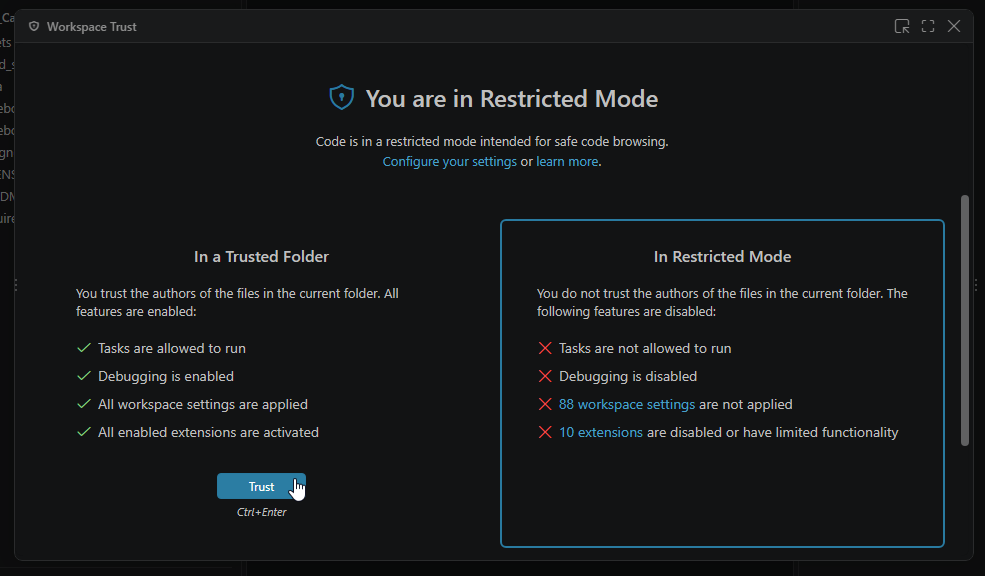
-
Enter the Visual Studio Code Command Pallette using
Ctrl + Shift + P(Windows) orCommand + Shift + P(MacOS) and locatePython: Create Environment.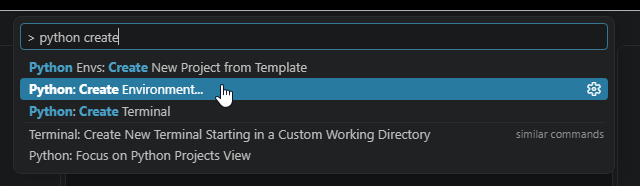
-
Select
venv.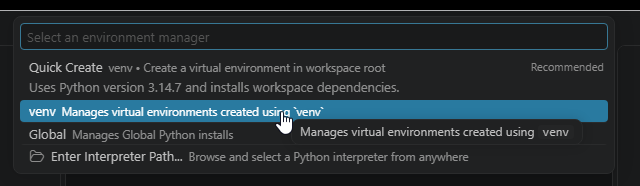
-
Select
Python 3.14. (the version you just installed)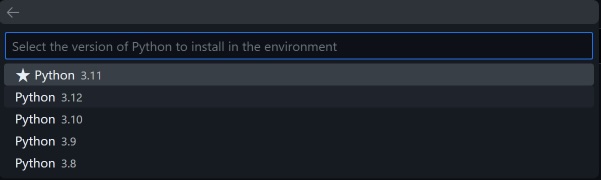
-
When asked to “Select dependencies to install”, click the box next to requirements.txt and click “ok”

- You should see it installing. Please wait until it finishes
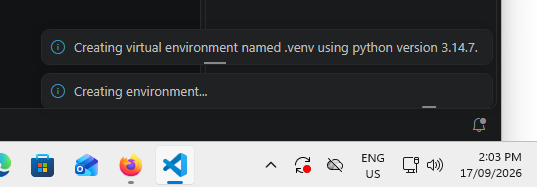
You should now be done!
Google Colab
If you were unable to complete the above steps, you may alternatively access the workshop material using Google Colaboratory (colab) as an emergency measure. Please ensure that you have a Google Account.
- Episode 1 - Python Fundamentals
- Episode 2 - Analysing Patient Data
- Episode 3 - Visualising Tabular Data
- Episode 4 - Storing Multiple Values in Lists
- Episode 5 - Repeating Actions with Loops
- Episode 6 - Analysing Data from Multiple Files
- Episode 7 - Making Choices
- Epsiode 8 - Creating Functions
- Episode 9 - Data Analysis with Pandas